 This card ended up being quite time consuming to make. I made it as a response to the summer themed challenges from TCP Tuesday and Pink and Main, as well as Tuesday Throwdown‘s watercolour challenge.
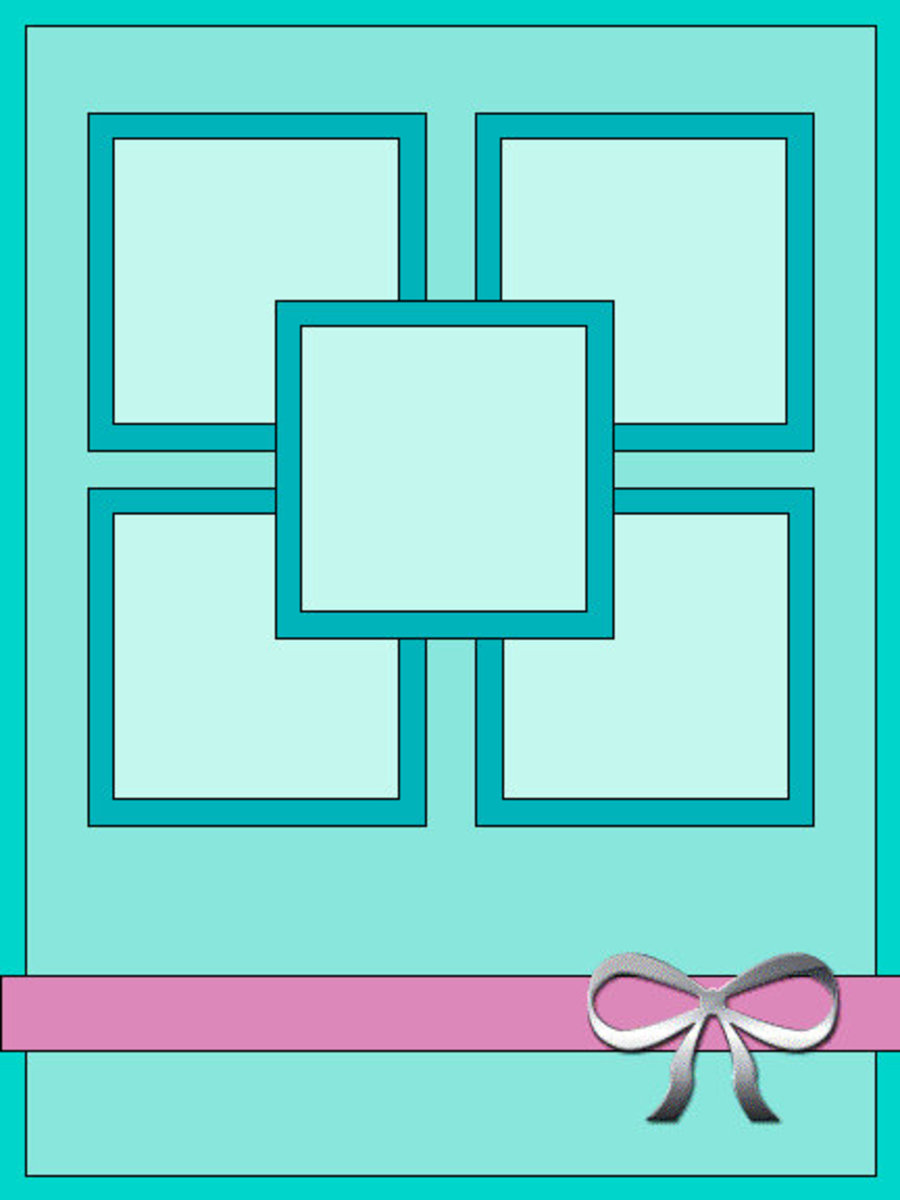
 I started by looking for a layout to use, as I wasn’t using a challenge one. Unfortunately I don’t have a source for the one I used, as the link I found just went straight to the image rather than to any blog or other website. If anyone knows where this sketch comes from do let me know so I can give proper credit.
I already knew I wanted to use the same flower set (Altenew’s Wild Hibiscus) and ink (Seedless Preserves Distress Ink) that I had used with such success in my previous watercolour card. First I cut the white paper down to the required size for the panels. In hindsight it probably would have been easier to mark out the areas I needed and stamped whilst the paper was whole rather than cutting them up first… But anyway.
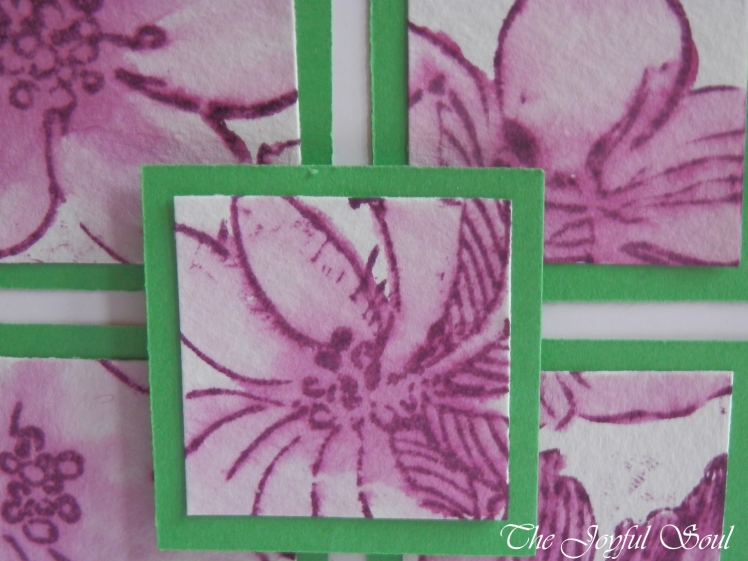
I stamped the middle flower first, allowing it to overlap slightly onto each of the other four cards. I then masked it and stamped flowers onto each of the other four panels, allowing the flowers to stamp onto the neighbouring panels as required. I then used a paintbrush and water to draw the ink across the flowers, colouring them in with a simple watercolour technique.
Whilst the watercoloured panels dried I prepared the rest of the card. I decided to go for shades of green as summer here in Finland is very verdant! (Usually at least. It’s been a bit rainy the last few days. Though of course rain is required for all that green to grow!) I chose two shades of green, one darker than the other but both bold and vibrant. I used the darker green to make mats for the watercolour panels. With the lighter green I created a strip for the sentiment. I then decided that I would mat the card on each of the greens, so I cut a white inner panel, then cut and gutted matting layers in each of the greens.
I matted the white inner panel onto the gutted dark green mat, then both of those onto the gutted lighter green mat. Once the flower images were dry I matted each of them, then moved onto the positioning on the white panel. It was pretty difficult to get them lined up, but luckily the gap between them is rather forgiving so I think it worked out well enough. I adhered the four outer panels using my tape runner which is what I’d used for all the matting. I then attached the middle panel on foam tape to raise it up.
I stamped the sentiment, which comes from Avery Elle’s Petal Panel, to the left hand side of the strip then mounted it to the front of the card with foam tape. I then found some green ribbon and tied a double bow, which I stuck onto the right of the sentiment strip using Tombow Multi Mono Liquid Glue. The bow slightly overlaps the sentiment, but I think it is okay anyway.
 I’m relatively happy with how the card turned out though I think there are a lot of places I could have improved. The stamping and painting of the image panels could have been simplified greatly if, as discussed, I had stamped before cutting the panels down. But of course part of the process is learning new techniques, trying new things, and learning from each of the cards I make. Even when things go ‘wrong’ I can consider them a success, because they gave me the opportunity to learn.
Love,
Lady Joyful
Love this, so pretty! Could work as a Mother’s Day card too : )
LikeLiked by 1 person
Thanks! Yes, it definitely could. I want to love the card, but I keep seeing all the things I could have done better! Guess that’s just the perfectionist in me 🙂 I’m so pleased that you like the card!
LikeLiked by 1 person