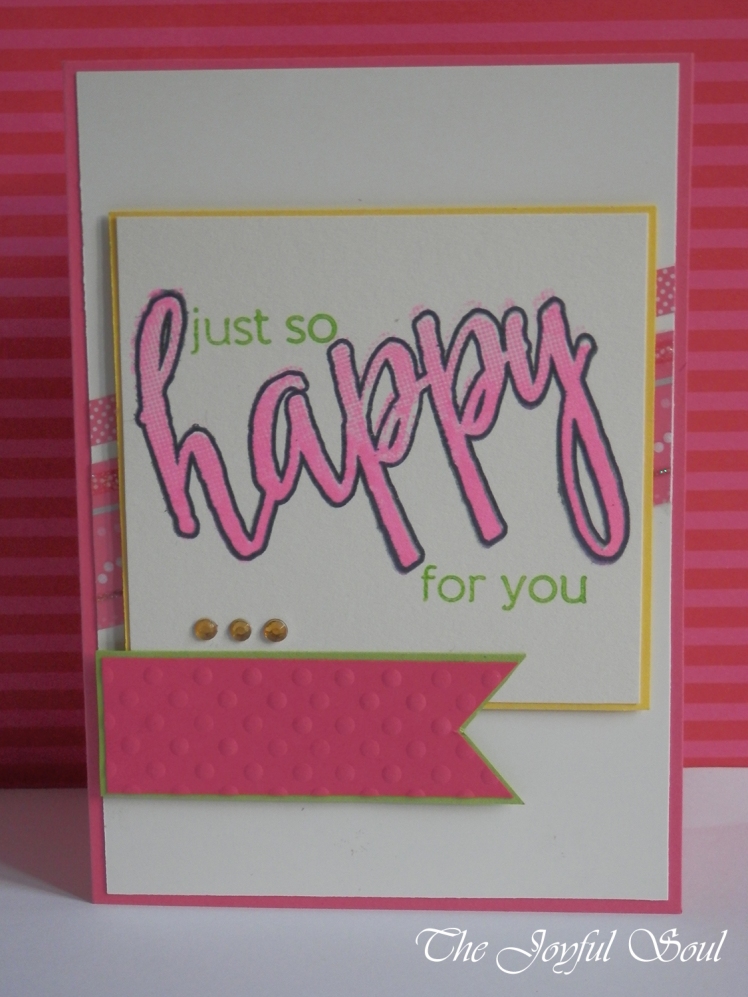
 I thought making yesterday’s card was frustrating… Today’s was more so! I nearly gave up at one point. I did persevere though and I’m actually relatively happy with how it turned out. It’s a response to many different challenges. The layout comes from Mojo Monday and the colour scheme from Color Throwdown. From Simon Says Stamp Monday and Craftyhazelnut’s Patterned Paper came the request for use of patterned paper, whilst Alphabet Challenge asked for ink. CASology inspired the congratulatory mood of the card, and Pixie’s Snippets Playground simply requested the use of snippets.
 I began by decided I wanted the main panel to showcase a sentiment rather than an image. I went for “just so happy for you” which is made up from the Altenew Halftone Happy stamp set. I’ve not used the happy stamp in quite some time so it seemed a good choice.
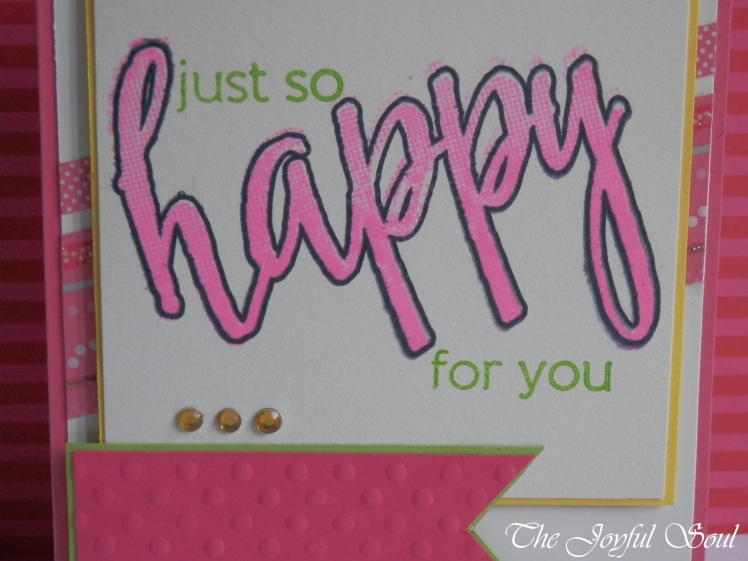
I decided to stamp the halftone part of the sentiment in a bright pink. This was the part I ended up frustrated with. I mentioned yesterday that I’d been having an issue with another stamp set in which the central part of the stamp frequently doesn’t take when I stamp it. Well… This stamp did the same.
 It’s a different stamp, different ink, why is it having the same problem? I got very annoyed! I’ve used this stamp before without trouble and now I just couldn’t get it to work. I wondered if maybe my block has warped somehow, but even using the stamp on the other side it was the same part of the stamp that wasn’t taking, which doesn’t seem to support that theory. At that point I nearly gave up, because I’m not sure how I can make my cards if my stamps don’t want to work. I did try again though and managed to get it to take better. No idea what I’d done differently though…
I then took the outline part of the happy and stamped it in black, before stamping the rest of the sentiment in green. Those took fine first try. Again, no idea what I was doing different but I guess I won’t complain.
 I found a scrap of yellow and used it to make a mat to tie in that part of the colour scheme. I then cut a banner from a snippet of deep pink, ready-embossed card and matted it onto a green mat, which I also made from a snippet! Next I was considering making a pink mat and white smaller mat/panel to put on the front of the white card base but when I realised how weighty the pink was I decided to instead use it to make a cardbase. (This may or may not have been slightly influenced by the fact I’m almost out of premade cardbases!)
For the diagonal strips behind the sentiment panel I took a snippet of striped pink card. I cut off the top stripe to make the smaller strip and used the rest for the larger strip.
Then I just had to stick the whole thing together. I used tape runner to stick the sentiment panel to the yellow mat. For the embossed pink card I used Tombow Multi Mono Liquid glue so that I would be able to slide it properly into position on its green mat. I used the liquid glue for the diagonal strips too, for the same reason. I adhered the banner to the sentiment panel using my tape runner, than put some yellow craft foam behind the yellow panel and foam tape behind the banner to raise those up.
At this point I was theoretically done but I felt something was missing. After some contemplation I decided to add three little yellow gems onto the sentiment panel. I used Tombow Multi Mono Liquid glue to stick those down.
 As I said, I’m relatively happy with how this turned out. At least, considering how much trouble I had with it! It’s far from perfect. But I did what I set out to do, and that’s the main thing.
Love,
Lady Joyful
Yayy! Stick on jewels! I think it’s pretty and I like the curvy script : )
LikeLiked by 1 person
Thanks! It’s a nice stamp, when it works 😉
LikeLiked by 1 person
Love it, so bright and cheerful too. You did well combining all of those challenges. 😊
LikeLiked by 1 person
Thank you 🙂
LikeLiked by 1 person
I love this card Charlotte! All the pink makes me happy 🙂 Just like your sentiment. Really lovely layout there too.
I checked your previous stamping post where you first mentioned issues with stamping and see that you plan on getting a Misti – I love mine and it certainly means you can stamp over again in exactly the same place. I wonder, have you tried using a mouse mat (with the hard side uppermost) underneath the piece of card you’re stamping? The bit of ‘give’ should help you – plus, I always stand up to stamp to get enough pressure. Having said all that, I’m no expert! 🙂
Hugs
Di xx
LikeLiked by 1 person
Thank you Di! Yes my Misti is awaiting me at my dad’s in England. Very much looking forward to going to pick it up. I’ll try the mouse mat tip, if my husband will let me borrow his (mine is not a normal mouse mat so wouldn’t work). Thanks for the suggestion 🙂
LikeLike
What a master you are at combining challenges and kudos to you for not giving up! You ended up with a lovely, happy, bright, celebratory card! Thanks for joining us at CASology this week!
LikeLiked by 1 person
Thank you so much Sherrie. Means a lot to me 🙂
LikeLike
I’m happy that this has worked out for you. I like it!
PS: Any chance in the future you’ll make these available for sale?
LikeLiked by 1 person
I’m planning to open an etsy store at some point! I have a few ideas for cards, based on ones I particularly like of what I’ve made. It’s things like the problems I had with this one though that make me wary of doing it… It’s definitely something I want to do though 🙂 And I will of course mention it here (and on the Facebook page – probably sooner there) once it happens 🙂
LikeLike
Good to hear! I guess practise will make perfect…
LikeLiked by 1 person
That’s the plan 🙂
LikeLike
Such a cute card, love the mix of bright colors. Thank you so much for playing along with us over at the Simon Says Stamp Monday Challenge Blog this week 🙂
LikeLiked by 1 person
Thank you 🙂
LikeLike
I really like your interpretation of the sketch. Regarding your inking problem – I heard using a white pencil eraser (not the cheap ones for kids) over the surface of new stamps was a good idea if the ink was pooling. It removes some kind of residue from the manufacturing process. I now do this any time I use a stamp, new or old, if the ink isn’t taking very well. Hope this helps!
LikeLiked by 1 person
Thanks for the tip 🙂 I’d heard something about going lightly over the surface of them with an old nail file, but was worried about damaging them so didn’t do it… I will try using the eraser and see if that helps 🙂
LikeLiked by 1 person
Great design! I think you’ll find that having a MISTI will make stamping so much easier. Thanks for joining us at The Color Throwdown!
LikeLiked by 1 person
Oh yes, I’m counting down the days until I can collect it from my dad’s 😉 Thanks!
LikeLike