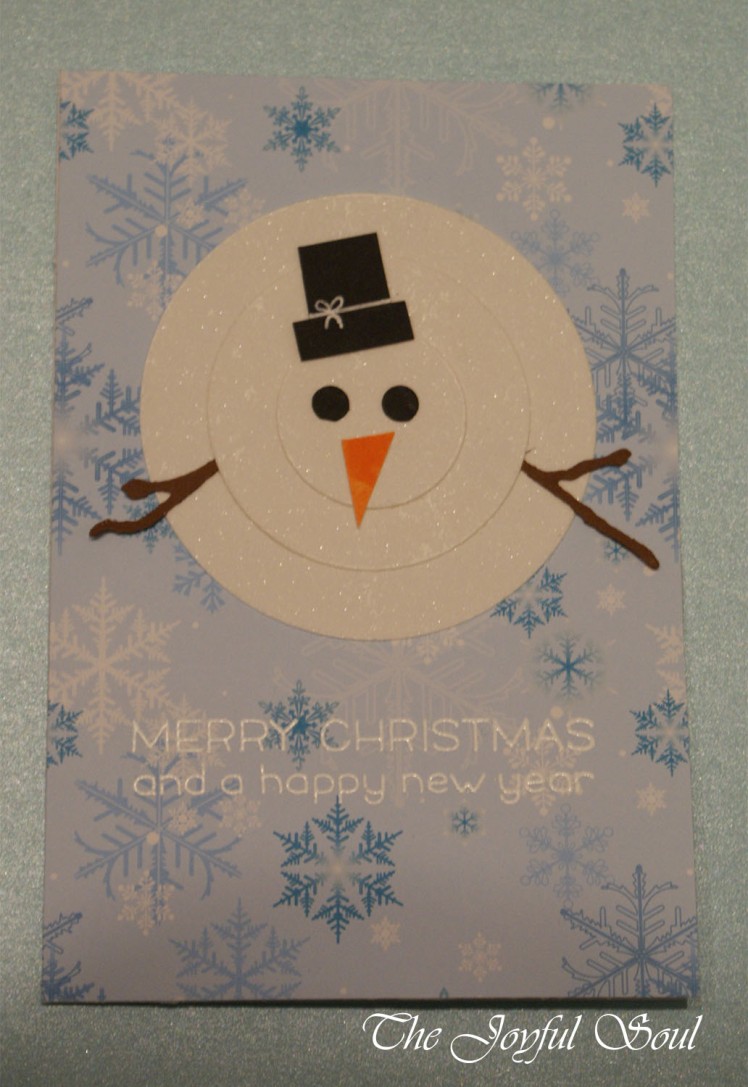
 The second card I’m sharing with you today takes is a Christmas card, surprisingly enough! It’s an idea I had – partially inspired by seeing similar ones on Pinterest – and it just so happened that a number of challenges were suitable to enter it into. Quite a large number in fact! Inspired By All The Little Things‘ inspiration image was a perfect starting point, and Sweet Stampin‘s snow challenge seemed to go nicely with it. CASual Friday asked for glitter and snowflakes, whilst Inkspirational wanted CAS with sparkle. The Christmas theme came from many challenges – CAS on Sunday, AAA Cards, and Craftyhazelnut’s Christmas Challenge and Christmas Challenge Extra. I’m also entering it to Allsorts Challenge Blog‘s CAS challenge and Craftyhazelnut’s Patterned Paper challenge. And finally I’m entering it to Pixie’s Snippets Playground.
 The main element I wanted was the snowman looking up. I knew that would be relatively simple to make just using a few different circle dies. I picked out some white glitter card stock – part of my birthday presents from husband’s parents – and cut three circles from it. I then put them to one side.
Next I picked my backing paper. I decided to use a patterned paper as the snowman itself was already adding a lot of white to the card. I picked out the snowflake patterned paper as it allowed me to tie in the snowflake theme.
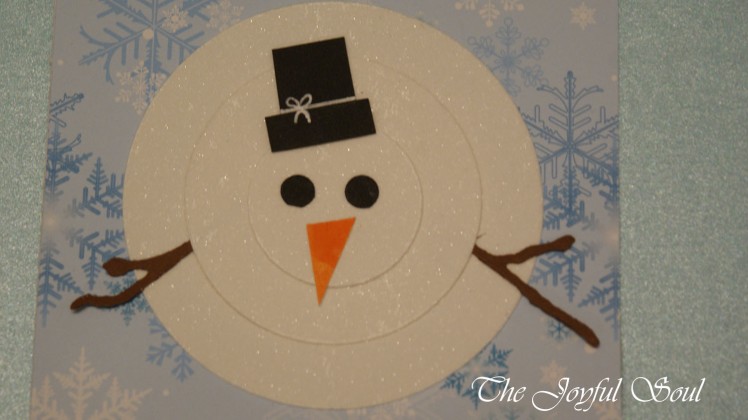
 Then I needed to create the other elements for the snowman, to ensure he looked like a snowman and not just a pile of circles! I used a hole punch on a snippet of black card to make the coal eyes, and cut some pieces to make a hat from the same snippet. The hat actually took me quite a while to get right. I went through several little bits of card trying to get the size etc to look sensible. Eventually I had the idea to use my white gel pen to add a faux ribbon, and that finally made it look like a hat rather than a weird boxy thing… The carrot nose is just a corner snipped from a leftover piece of orange watercolouring. The twiggy arms were cut using a snippet of brown and the branch from the Tim Holtz Spring Greenery decorative die strip. As the branch is a lot longer than I needed I was able to use different sections so that each arm looked different and more organic.
With all the components of the snowman ready I got to assembling. I used liquid glue for all the parts, and sandwiched the arms between the bottom and middle circles, glued the smallest circle on top of that, added the eyes and nose, then carefully positioned the hat and glued that in place too.
Before I glued the snowman onto the patterned paper I added my sentiment, which is from Lawn Fawn’s Merry Messages, which I stamped and heat embossed in white. I like the way the white looks, though from a distance it doesn’t actually show too well on the card… Finally I glued my snowman on, and adhered the panel to a card base.
I love how this turned out. The snowman is really cute, the patterned paper gives a nice background, and the sentiment works well with it all. The glitter paper is lovely and works absolutely beautifully for a snowman! It’s a nice touch of sparkle to the whole thing. I’m always a bit leery of using patterned paper in a CAS card, because sometimes I feel like patterned paper goes against the whole idea of CAS… but I feel like this card turned out quite CAS anyway. Hopefully the relevant DT members think so too!
Love,
Lady Joyful

Clever design and cute snowman too 🙂
LikeLiked by 1 person
Thank you 🙂
LikeLiked by 1 person
Love this card Charlotte! I made one very similar in Week 226 in the Playground. Such fun and a great idea – that I also got from elsewhere of course 🙂
Hugs
Di xx
LikeLiked by 1 person
Ah, maybe that’s where I knew it from – I felt like I’d seen something similar when I spotted it on Pinterest 🙂 Thanks for the inspiration!
LikeLike
Lovely and pretty card.
Thank you for sharing at Allsorts CAS week;-))m
LikeLiked by 1 person
Thank you 🙂
LikeLike
Very cute and sparkly snowman card! Thank you for playing along!
LikeLiked by 1 person
Thanks 🙂
LikeLike
Oh, so cute, Lady joyful. What a fun snowman and I love the bg paper too. Thanks for playing along at AAA Cards.
LikeLiked by 1 person
Thank you 🙂
LikeLike
Fab snowman. Thanks for joining us at Sweet Stampin’
Cass xx
LikeLiked by 1 person
Thank you 🙂
LikeLike
Thanks for entering all of my Craftyhazelnut’s challenges with your lovely crafting – hope to see you again soon. x
LikeLiked by 1 person
Thank you 🙂
LikeLike
Clever, fun and sparkly design.
Thank you for joining us at Inkspirational Challenges.
LikeLiked by 1 person
Thanks 🙂
LikeLike
stunning CAS card! I love the background paper and that snowman is super cute. Thank you for joining us at CAS on Sunday. Luv, Wilma
LikeLiked by 1 person
Thanks Wilma 🙂
LikeLike
This is adorable and so clever!
LikeLiked by 1 person
Thanks!
LikeLike
Such a clever idea – he looks like he’s looking up!!Thanks for sharing at AAA Cards. Jenny x
LikeLiked by 1 person
Thanks Jenny!
LikeLike
This is so wonderful!! I love how you created your snowman, very clever! And I love the snowflake paper! Thanks so much for joining us at CAS-ual Fridays Challenge!
LikeLiked by 1 person
Thank you 🙂
LikeLike
what a wonderful project filled with so much love and holiday joy!
thank you so much for joining our challenge over at The Crafty Hazelnut’s Christmas Challenge Blog Extra!🙂
LikeLiked by 1 person
Thank you 🙂
LikeLike