
I’m a bit late sharing this with you all! The weekend away last week threw me off more than I’d expected, so instead of having the video ready to go on Thursday I haven’t been able to share it with you until today. But it’s here at last! As always I had a lot of fun playing with Lizi’s latest card kit. The kits are always jam packed full of goodies, and this one was no exception. I did manage to use many different elements from the kit, including some that perhaps aren’t what I’d usually reach for (like the doilies!), but I also have a lot left over and some of the things I really expected I would make use of I didn’t end up using at all. I’m sure I’ll end up getting a lot of use out of the leftovers in future!
Card 1 – Pretty Sewing

I went fairly quick and simple for my first card, using the sewing machine patterned cut apart which I trimmed down and adhered to the bright pink card base. I then added a line of the tape measure ribbon across, and adhered the sewing machine chipboard piece over the top. I used the banner chipboard, which has stitching detail so I felt fit well, and adhered it towards the bottom of the panel, slightly overlapping the card base and covering the other sentiment that was on the cut apart. Finally I embellished the sewing machine by adding one of the adhesive backed hearts on to the knob (I’m sure there’s a technical term!) of the machine.

Challenge:
Craftyhazelnut’s Patterned Paper Challenge – Use Patterned Paper
Card 2 – Perfect Girl

My second card uses another of the cut aparts. The image really appealed to me and I knew I wanted to use it. I decided to colour in her hair with my Spectrum Noir Illustrator markers. (Alicia a.k.a. Crazy Paper Chick coloured hers with Copic markers – great minds think alike!) I added a sentiment to the panel, then adhered it to a yellow card base. I used some of the peel-offs to edge the panel, then finished off by adding a layer of Tonic Aqua Shimmer Pen to the glasses and following with some Glossy Accents.

Challenge:
Freshly Made Sketches – Sketch
HLS CAS Challenge – Smile
Card 3 – Crafty Sticker Grid

Each kit has two little sheets of stickers, and they may not be the same for everyone. My kit had one sheet with lots of little squares and I decided to use a whole bunch of them to create my third card. I laid them onto my grey card base, leaving a gap towards the bottom for my sentiment to fit in. I made the sentiment by masking and selectively stamping the “you are” and adding the “crafty” chipboard sticker. I decided to add peel-offs in between my stickers to help finish off the grid. Finally I added some of the Nuvo Drops in Liquid Mercury. I did later go back and add some double sided tape under some of the stickers as they were peeling up slightly, but most of them adhered fine.

Challenge:
Digi Choosday – Anything Goes
Card 4 – Perfect As You Are

I used the blue pearlised card as my card base for my fourth card. I decided I would add the three chipboard heads, and I used the negative portions of the chipboard sheet to help me line them up perfectly. (Check the video to see that in action!) Here again I had a little issue with them not sticking properly (possibly related to humidity? Not sure…) so I added a bit of Glossy Accents on the back to help hold them in place. I stamped a sentiment and die cut it with one of the hexagon dies that came in the March card kit. I edged the hexagon with some silver ink, then adhered it onto my card base over a piece of the navy and silver ribbon which I adhered by wrapping around the card.

Challenge:
Allsorts Challenge Blog – Ladies Night Out
Card 5 – Gorgeous On You

I trimmed down one of the smaller cut aparts for my next card and stamped a sentiment onto it. I then added a peel-off along the dividing line of the patterns. I decided to use the other yellow card base here, and added some interest to it using the largest part of the Pretty Plaid stencil and some Worn Lipstick Distress Oxide to create stripes. I popped up the cut apart panel and added three chipboard pins to finish it off.

Challenge:
LFL Monthly Challenge – Stripes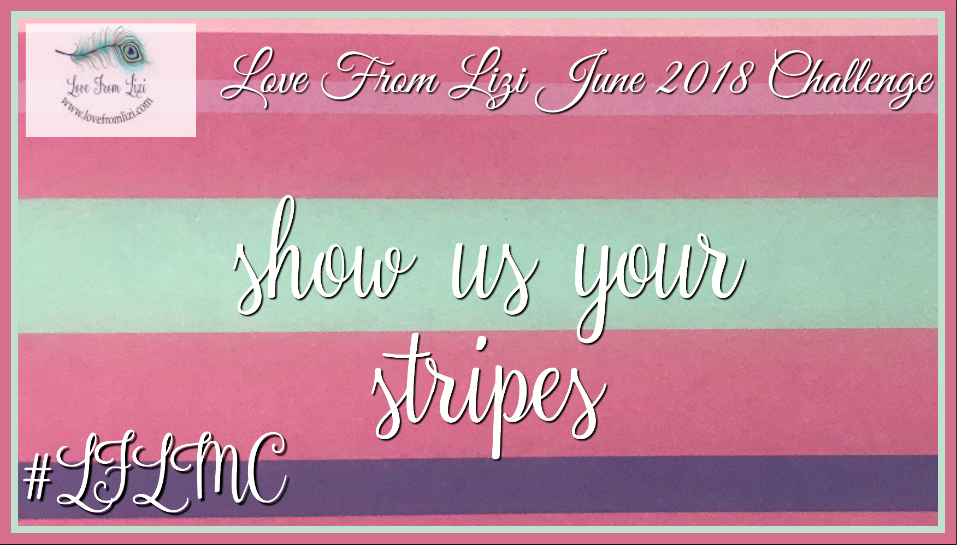
Simon Says Stamp Monday – Bright and Beautiful
Stamping Sensations – Anything Goes
Card 6 – Create

I decided to make a plaid background for my sixth card, but rather than using the stencil I used peel offs, with the lines on my grid mat for helping get them positioned correctly. I then used foam tape to add one of the smaller cut alarts over the top, then finished off with the addition of some of the chipboard pieces.

Challenge:
Crafter’s Castle Challenge – Anything Goes
Card 7 – Craftiness Is Happiness

I used another chipboard piece as the focal element for my seventh card. First I sponged silver ink onto my card base using the dashed/stitched element of the sentiment. I then added the cut apart,after colouring the open areas of the letters to have an ombre appearance. I added several of the Midnight Lagoon Sequins, with Liquid Mercury Nuvo Drops added to the centre of the largest sequins as well as randomly amongst some of the sequins. Finally I added Glossy Accents across the coloured areas of the letters.

Challenge:
SheepSki Designs – Embellish It or CAS
Card 8 – Make Pretty Things

I used the Pretty Plaid stencil on my eighth card. I created a background on the sky blue card base using Mermaid Lagoon and Cracked Pistachio Distress Oxide inks. I then used a trimmed down cut apart to make my sentiment panel, and further decorated the card using one of the crocheted doilies, several chipboard pieces, and a die cut button. I finished off by embellishing with the Liquid Mercury Nuvo Drops.

Challenge:
Lil Patch of Crafty Friends – Anything Goes
Card 9 – Gingham Waterfall

My ninth card is my most technically involved card. I decided I would create an interactive waterfall card. I first stamped and courses three ladies using the stamp set, then die cut them with square dies. I used a slightly larger square die to create backing pieces for them using Lawn Fawn’s Gotta Have Gingham patterned paper. I then created my waterfall mechanism (see the video for details) and attached the squares to it.
I used more of the patterned paper to create the background panel for my card, as well as to create the pull tab on the mechanism which I die cut with the large flower button die. I stamped a sentiment on to the waterfall mechanism, and also added “pull here” using Heffy Doodle’s Interactively Yours. I further drew attention to the interactive element by using the two arrow stickers. I decided not to further embellish the card as I felt the waterfall mechanism was enough to stand on its own.

Challenge:
HLS Anything Goes With Dies – Use Dies
Pixie’s Snippets Playground – Use Snippets
Card 10 – Simple Florals

I kept my final card very simple. I used a leftover snippet from one of the cut aparts and adhered that to the bottom portion of my pearlised blue card base. I then added a larger cut apart to the top portion of the card. I added a strip of ribbon between the two, topped with a bow, and finished off with some Liquid Mercury Nuvo Drops.

Challenge:
The Flower Challenge – Use A Previous Challenge (I picked challenge 18 which was anything goes – almost feels like cheating though!)
……….
I’m so happy that I was finally able to have a play with this card kit. Even whilst we were away I was itching to get back and dig in. It was a challenge for me as several elements were things that I wouldn’t normally be drawn to, but I enjoyed it a lot nonetheless. I had great fun playing with the stamp set and really enjoyed making the waterfall card. It’s a really fun kit, and I’d definitely suggest grabbing it if you haven’t already. There are still a few left in stock as I write this! And if you love the kits, it’s definitely worth subscribing to them so that you don’t miss out. Subscribers can add in any extra products they want in their kits without having to pay extra shipping, which is a great perk! You can find the subscriptions here – for UK, the EU, US and Canada, and the rest of the world.
Love,
Lady Joyful

Very nice selection. Thank you for sharing with us over at Polkadoodles Digi Choosday. Good luck!
Hugs
Suzi
LikeLiked by 1 person
Thanks Suzi 🙂
LikeLike
What a lot of super cards you have managed to make and such lovely bright colours too. Off to see what these kits are all about. Hugs Mrs A.
LikeLiked by 1 person
Thanks Mrs A! Glad to hear you’re interested in the kit – if you happen to decide to make a purchase after following my affiliate link, then thanks too for supporting my crafty work!
LikeLike
Wow you have been busy. Love each of your cards. Great use of pattern paper
Thanks for joining us at Digi Choosday
Julie T
LikeLiked by 1 person
Thanks Julie!
LikeLike
A super colourful card. Thank you for sharing it with us at Stamping Sensations and good luck. Sandra x
LikeLiked by 1 person
Thanks Sandra!
LikeLike
wow! great bunch of cards. Looks like you were on a roll creatively!
LikeLiked by 1 person
Thank you!
LikeLike
All of your cards are wonderful!!! You entered #6 in Crafter’s Castle challenge and I have to say it is quite CREATEive!!! Thank you so much for entering our challenge at Crafter’s Castle this month….good luck 🙂
Hugs… Janie
DT
Crafter’s Castle
crafterscastle.blogspot.com
LikeLiked by 1 person
Thank you Janie 😊
LikeLike
What a fantastic collection of cards! I love seeing how much you utilized that adorable paper! Your cards are both inventive and unique it each one was refreshing in its own way. There are remarkable things about each card, but I was especially wow’d by the interactive components! Way to go with your creations and thank you so much for taking the time to support our Simon Says Stamp Monday Challenge Blog!
LikeLiked by 1 person
Thank you very much Andrea 😊
LikeLike
Beautiful set of cards. Thanks for joining in the fun at Polkadoodles Digi Tuesday, Liz x
LikeLiked by 1 person
Thanks Liz!
LikeLike
This is such a charming card kit – I LOVE the big image with the patterned hair scarf. Thank you for playing along with us at Freshly Made Sketches.
LikeLiked by 1 person
Thanks 😊
LikeLike
What a brilliant card kit this is! So much variety and every single card is wonderful!
Hugs
Di xx
LikeLiked by 1 person
Thank you Di 😊
LikeLike
Thanks for joining us at Digi Choosday challenge blog
LikeLiked by 1 person
Thank you!
LikeLike
She certainly has a sweet smile!
Thanks so much for joining us.
Chrissie
Happy Little Stampers CAS Challenge
LikeLiked by 1 person
Thanks Chrissie 😊
LikeLike
Hauskoja ja kauniita kortteja, kiitos kun tulit mukaan Allsorts haasteeseen;-))m
LikeLiked by 1 person
Kiitoksia Mervi 😊
LikeLike
Awesome and beautiful collection of cards, so glad you shared #10 with us at THE FLOWER CHALLENGE, love the wooden background and the beautiful pop of color of your flowers. I hope you play again soon.
Hugs.
LikeLiked by 1 person
Thank you 🙂
LikeLike
Wow, so much creativeness in one post! Loving your CAS card and the way you coloured her and added accents. Thanks so much for playing along at Happy Little Stampers CAS Challenge, Anita x
LikeLiked by 1 person
Thanks Anita 😊
LikeLike
Hi, you got an impressive selection of cards from your kit. The waterfall card is a great snippet make too. Elizabeth x
LikeLiked by 1 person
Thanks Elizabeth 😊
LikeLike
a great set of cards
thanks for joining us at HLS
LikeLiked by 1 person
Thanks 😊
LikeLike
I LOVE your cards! So bright and happy!!!
Thanks for joining us at CraftyHazelnut’s Patterned Paper Challenge for June!
Monica – DT
LikeLiked by 1 person
Thanks Monica!
LikeLike
Beautiful cards!!
LikeLiked by 1 person
Thanks!
LikeLike