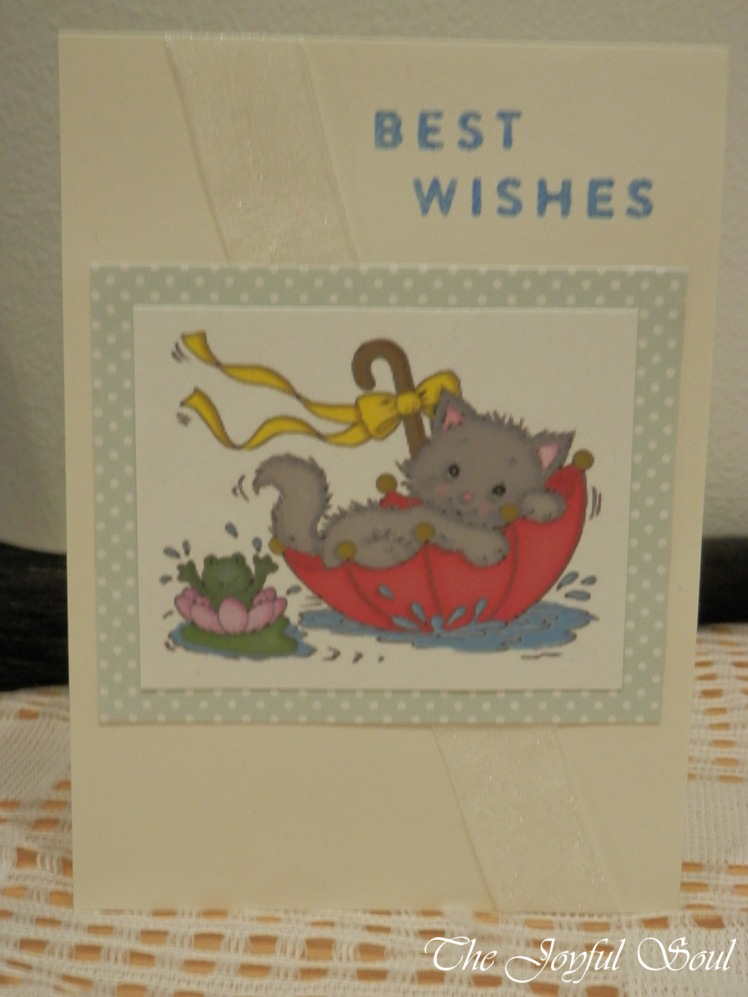
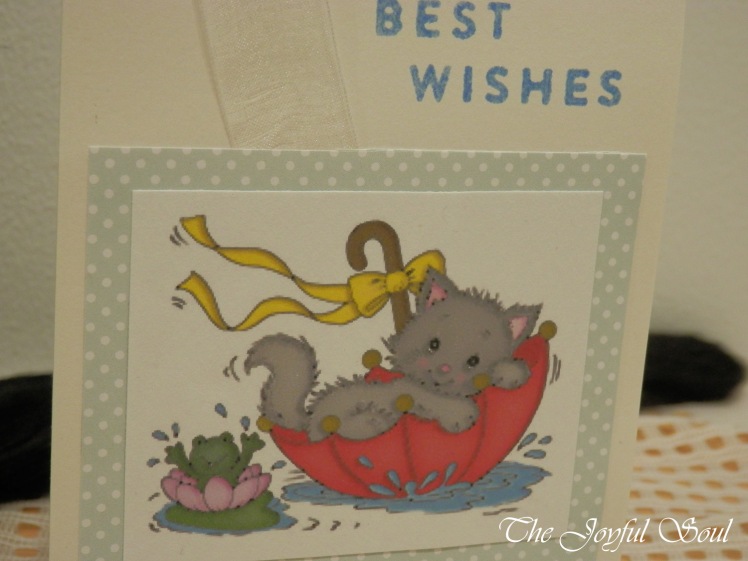
 I spent a long time on this card. Like, a really long time. The construction itself didn’t take long but the colouring… That’s a different matter entirely!
The challenges I used to get started for this card were Simon Says Stamp Wednesday‘s Rain or Shine Challenge, and Seize the Birthday‘s Water challenge.
I started by looking for a suitable digi-stamp as I knew I didn’t have a physical stamp. I came across this on Pinterest (actually it’s tecnically a colouring page…) which seemed perfect. I knew I wanted to digitally colour the stamp as I’ve done before, but I wanted to try my hand at shading this time. A quick search produced this video which gave some very handy tips.
(IMPORTANT EDIT Feb 2018 – I recently discovered entirely by accident that the ‘free colouring page’ is actually a stolen image from Your Next Stamp. As such I have removed the link to the page. If you are interested in this image you can get the stamp from Your Next Stamp here.)
The only problem was that my chosen image did not have the cleanest lines, and some of the lines were open. That meant that I couldn’t just use the magic wand to select the white, and had to lasso it instead. Which slowed the process down. It took me over an hour and a half to colour that small image…
Printing posed another problem. I’ve run out of decent white paper of a size and shape that our printer will accept. (We have mountains of basic printer paper, but that’s not really a good enough quality for the cards.) I did eventually find some I could use but it didn’t print as well as I would have liked…
I didn’t have a layout in mind when I started this challenge, so I winged putting it together. I decided I wanted to mount the image, so I dug through my snippets (hence entering this card to Pixie’s Snippets Playground!) and found the polka dot paper (allowing me to enter it to the Less is More challenge too) which seemed perfect.
Having mounted the image I tried to decided how to position it on the card and what else to put with it. I chose to use the clear/white ribbon at an angle across the card, going behind the centred panel with the image on it.
Finally I wanted to add a sentiment. I consider this a birthday card, but didn’t have a “Happy Birthday” that would fit the card. Instead I went with “Best Wishes” which I stamped in blue. The ink didn’t take brilliantly, and the colour doesn’t fit as well as I would like… But it does the job.
 After more than 2 hours spent on making a card which I had expected to be quick, well… I’m just glad it’s finished and that I can go to bed now!
Love,
Lady Joyful
Such a super sweet card! You have done a lovely job on the colouring and that is a great use of the polka dots.
Thank you for joining us at Less is More.
Sharon xx
LikeLiked by 1 person
Thank you Sharon! 🙂
LikeLike
Such a cute card and image. Thanks for playing along with us at Seize the Birthday!
LikeLiked by 1 person
Thanks 🙂
LikeLike
Your effort and attention to detail have really paid off! Fab colouring and a pretty layout. Nicely done!
LikeLiked by 1 person
What a pretty card !!
LikeLiked by 1 person
Thanks!
LikeLike
Thank you! 🙂
LikeLike
Well done on carrying on when I’d have given up and lain on the floor and drummed my feet! Super image and a really great card too!
Hugs
Di xx
LikeLiked by 1 person
Thanks so much Di! I’ll be honest, I was tempted to give up at times! 🙂
LikeLike
WOW – am so impressed with your patience and resilience! I would certainly have given up! xxx
LikeLiked by 1 person
Thanks Sarn. I was tempted to give up! 🙂
LikeLike
Adorable card! Such a sweet image!! Too cute!
Thank you very much for joining us this week at the Simon Says Stamp Wednesday Challenge Blog!
hugs…
Melissa
LikeLiked by 1 person
Thank you Melissa 🙂
LikeLike
I think that you are too hard on yourself. This is a cute card with wonderful coloring. Thanks for playing with us at Seize the Birthday Challenge.
Barbara DT member.
LikeLike
Aw, thanks Barbara 🙂
LikeLike
This is a really sweet design and I love the polka dot frame! The blue of the sentiment picks up the blue from the puddle and ties it all together. Thank you for sharing it with us at Less Is More 🙂
LikeLiked by 1 person
Thanks so much 🙂
LikeLike
Well full marks for determination!
I think I would have given up if things became challenging!
Thanks so much for joining us.
Chrissie
“Less is More”
LikeLiked by 1 person
Thanks Chrissie! I do have a bit of a stubborn streak, so as tempting as it was to give up I was determined to finish it 🙂
LikeLike
What a sweet card, your colouring looks great!
Thanks so much for joining us this week.
Anne
“Less is More”
LikeLiked by 1 person
Thank you 🙂
LikeLike
What a fun image for our water-themed challenge! Thanks so much for playing along at Seize The Birthday 🙂
LikeLiked by 1 person
Thank you 🙂
LikeLike