The theme at The Male Room this month is Steampunk and I was really struggling to come up with what to make for it. I was tempted to ask to sit it out, because I couldn’t think of anything I have that would fit the theme. But then I remembered an old Love From Lizi card kit and thought it might just maybe be what I needed.

I began with my tag element which took a long time! First I took a large kraft tag that came in the kit. I removed the twine and set it to one side, before using glue to adhere a piece of the patterned paper that came in the kit onto the tag. I trimmed away the excess paper, and used a hole punch to reopen the hole in the tag.
Next I wanted to increase the detail on my tag. Taking the stamp set from the kit I chose the large feather and stamped it with Hero Arts Unicorn pigment ink, positioning it to match the curve of the leafy elements on the patterned paper. I then dabbed over the white ink with my finger to soften and blur it. I also swiped the white ink pad along the tag and softened that too, before stamping the feathers again with the white and keeping it full strength.
For my next layer of detail on the tab I took the ‘you are the best’ stamp from the same stamp set and used Hero Arts Charcoal ink to stamp it repeatedly along the entire tag. The result was very subtle but helped to add some texture to the background.
Whilst it wasn’t part of my original plan I decided to also stamp the bird from the stamp set onto my tag. I used Hero Arts Cocoa ink for this, bringing some darkness back onto the design. I stamped one almost whole across the bottom of the tag, and added a second using just a wing towards the top.
The patterned paper I had used had some rusty orange in it, and I wanted to bring that out more as I felt that rust fits the steampunk theme well. I achieved this by edging the tag with Just Rust ink, and also adding some swipes of the ink along the surface of the tag to create some rusty looking lines.
Once I was finally happy with the tag I put the twine back in and set the whole thing to one side whilst working on the rest of the card.
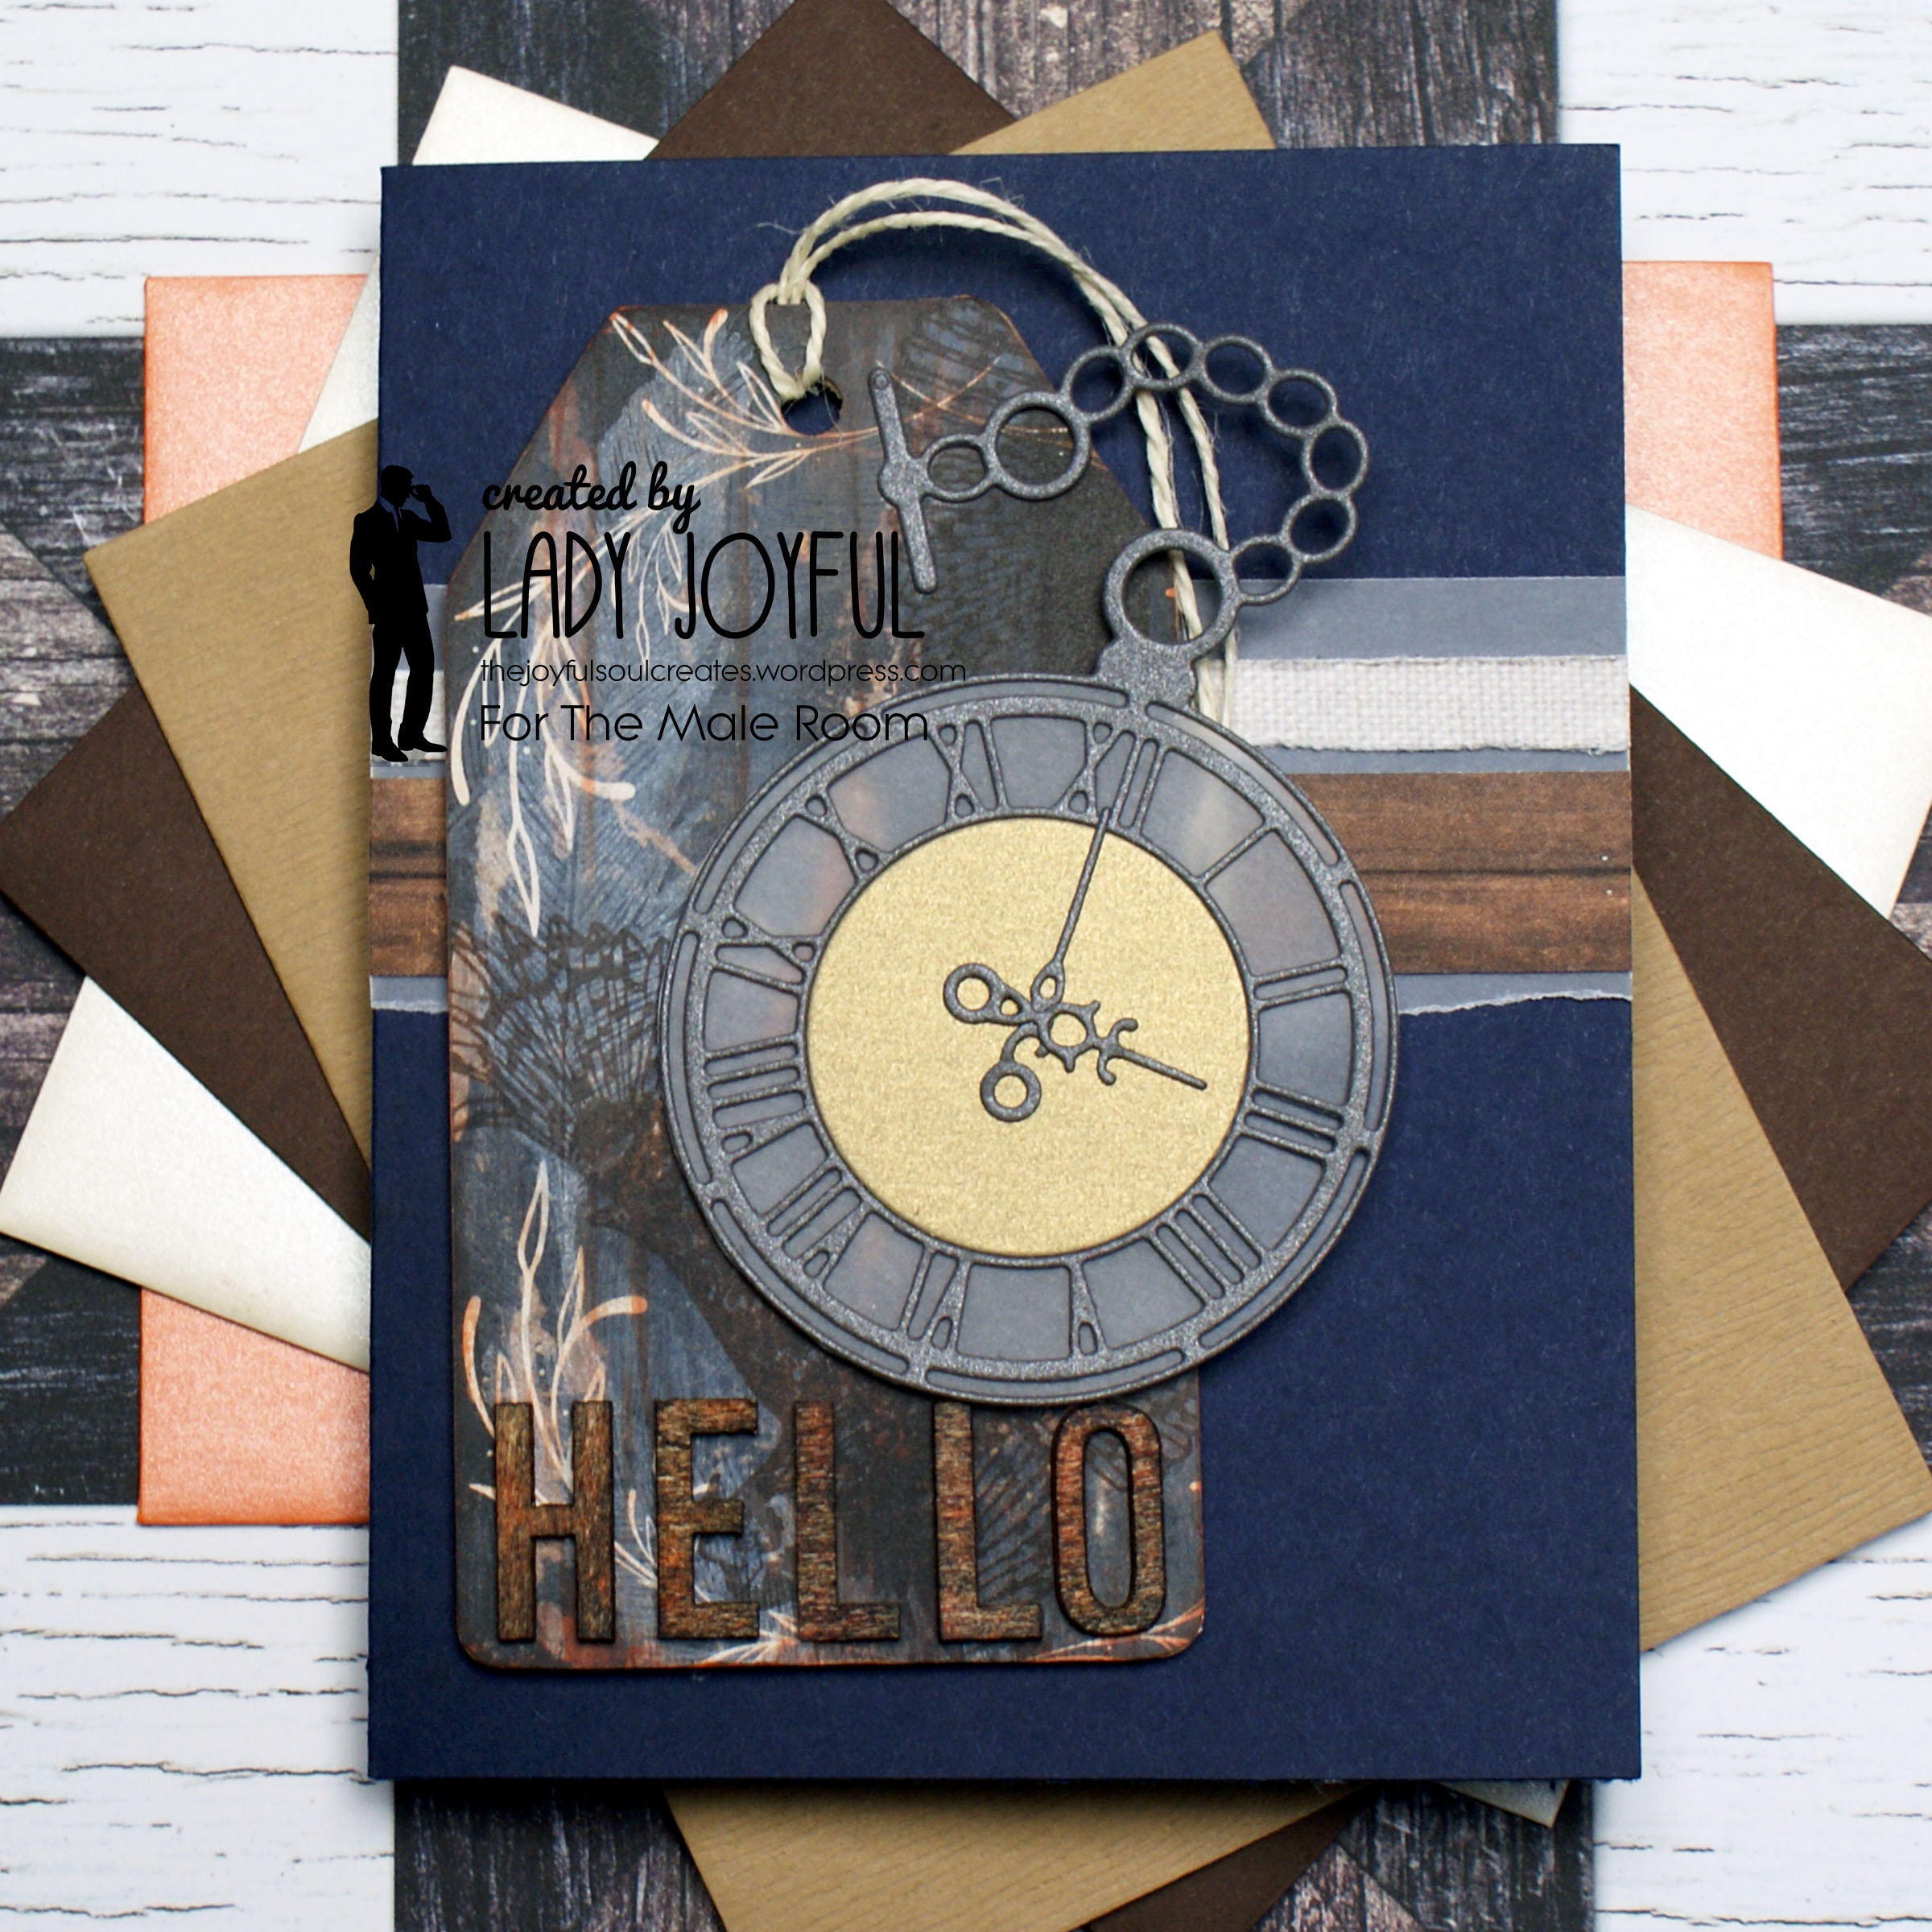
I decided to use a couple of snippets of patterned paper along with a wide snippet of vellum for my background elements. I tore the bottom edge of the vellum, and used my scissors to rough up both sides of the narrower patterned paper to give some interest. I then adhered both strips of patterned paper to the vellum and attached the whole thing to my dark blue card base.
Before attaching the tag to the card base I wrapped the twine back behind it and adhered it down. I undid the knot at the top before sticking it so that it would have a lower profile. I then added some offcuts of card to the back to create dimension (this is more environmentally friendly than using foam tape) and adhered it to the card base.
For my focal element I planned all along to use the Build A Fob Watch dies from the kit. The watch was the only element I felt might meet the steampunk requirement… I cut it from a piece of pearlised dark grey card, and cut the hands for it from a snippet of the same card. The centre of the watch is a snippet of pearlised gold, and I backed the whole thing with a snippet of vellum, which gives a nice glass like appearance to it. I used more snippets of card to add dimension to the back before adhering it onto the tag.
The last thing I needed to add was a sentiment. The card kit came with some adhesive backed wooden letters, and I picked out ones to spell hello. The wooden colour didn’t fit with the design, so I gave them a rusty metal appearance by pressing the various ink pads I’d used for the card onto the letters. I also used a little dark blue to pull in the card base, but I’m not sure it shows that much so I probably could have left that out. I then removed the adhesive backing and adhered them along the bottom of the tag, which completed my design.

I’m not entirely convinced that this is really a steampunk design, but it was inspired by the idea of steampunk at least. I enjoyed the process of creating it, and am pleased with the end result. I hope it inspires you to come and join in with our challenge. You can find more inspiration from the rest of the team over on the challenge page or directly at their blogs via the links below.
Love,
Charlotte E (Lady Joyful) 
|
*Affiliate links may have been used in this post. For more details on affiliate links as well as other ways to support me, visit this page.*
Challenges:
Alphabet Challenge – V is for Vellum
Classic Design Challenge – Anything Goes
Crafty Catz – Anything Goes
Craftyhazelnut’s Patterned Paper Challenge – Patterned Paper
Creatalicious Challenges – Anything Goes
Digi Choosday – Anything Goes
Lil Patch of Crafty Friends – Anything Goes
Pixie’s Snippets Playground – Snippets
Polkadoodles Craft Challenge – Anything Goes
The Male Room – Steampunk
Check out what the rest of the DT made:
Lady Joyful (that’s me!)

Not sure I know what steampunk is but I like your card very much.
LikeLiked by 1 person
Thanks 😊
LikeLike
You have rocked the steampunk look here Charlotte! I must confess I wouldn’t have the faintest idea where to start but am so impressed at all your processes. The ‘rusty’ hello is genius! Vicky x
LikeLiked by 1 person
Thank you ☺️
LikeLike
oh wow i am loving this love all the detail and thanks for sharing with us at CRAFTY CATZ ATG challenge hope to see you again in our new challenge
LikeLiked by 1 person
Thank you ☺️
LikeLike
a chain watch is very steampunky, cool make. Thank you for having me as a Guestdesigner for the Male Room
LikeLiked by 1 person
Thank you 😊
LikeLike
Brilliant make as always Charlotte! I do love to read how you tackle your projects – always useful tips to be had.
Hugs
Di xx
LikeLiked by 1 person
Thank you 🙂
LikeLike
Awesome card! Thanks for playing along with us at Crafty Hazelnuts Patterned Paper.
DT Stacey
http://www.butterflycreations.blog
LikeLiked by 1 person
Thank you 😊
LikeLike
A great card – thanks for sharing it with us at Craftyhazelnut’s Patterned Paper Challenge.
Helen x
LikeLiked by 1 person
Thank you 🙂
LikeLike